I can honestly say that it has been quite a while since I have made a dress from start to finish. I think the last one was a wedding dress for a friend about 11 years ago. Wait, scratch that, it was a dress to wear to my brother-in-law's wedding 6 years ago. Technically I had started that one several years before and had stopped working on it when I realized that I was expecting again. Contrary to popular opinion, it is not cheaper to sew the average garment and it's downright ridiculous if you'd like something tailored and classy. Instead, I've been altering hand-me-downs or tearing thrift store bargains apart to create something new. I have also begun to take in alterations; mostly from friends, but from a few others as well.
A few weeks ago a friend asked me if I could take a look at a bridesmaid gown and possibly sew a dress for the reception for her. Apparently the Nigerian bride had given all of her attendants fabric and had asked them to make a separate dress of their choosing for the reception. At the time I was in the middle of a painting job and Thanksgiving was just around the corner so I said that I'd be happy to, but that I probably couldn't get to it until after Thanksgiving...completely forgetting that said holiday was taking place on the last weekend in November this year. The wedding was the following weekend and they needed to leave by Thursday in order to get there. No problem! Right. It's a good thing that I have frequently left my own sewing projects until the last minute.
I was able to get the bridesmaid gown alterations finished up right before Thanksgiving, which freed my time for a baking/cooking blitz, because it is just not a proper Thanksgiving without the best feast that can be prepared in the circumstances. You can blame my mother and grandmother for that line of thought. I usually cook only one gigantic, all out meal a year and Thanksgiving is it. We compromised by not pulling out the good china or the silver to cut down on the clean up.
With the holiday cooking out of the way, it was time to begin the reception dress. My kids saw this pile of materials and thought that I had gone completely mad when I told them what it was going to be.
I have to say that this fabric made my OCD side go crazy. Given the amount of fabric, I could only match a couple of seams.

Within two days, the dress was almost finished. All that was left was a fitting, some fasteners, and the hem. Unfortunately, there needed to be a lot of alteration. I have to say that I HATE the way some patterns are written and this one was a doozy. The 'quick and easy' type patterns are the worst. Thank you, Kwik Sew. I can completely sympathize with someone giving up their sewing attempts if that is what they are trying to follow. I'd have been completely lost if it weren't for the fact that I have been doing this for 20 years. (How can it possibly be that long?!) I am always appalled at how much ease, or room, is provided in most commercial patterns today. I have routinely taken in at least 2-3 inches after making the pattern to the size recommended and still had plenty of maneuverability. This was no exception. Normally I would ask someone to come out and try the garment on before it was completely together, but given the holiday weekend, the time crunch, and the fact that this friend has a small baby to work around, I just couldn't ask her to drop everything for that. So, back to the seam ripper and sewing machine it was. One more day of all out sewing and the dress was finished.
There was one other request for this dress that made it more complicated than usual. This friend happens to be a nursing mother. Now, any of you other mothers who have been there, know how annoying and frustrating it can be to try to nurse your child comfortably without having to go hide somewhere and take half of your clothes off; especially when you are part of a wedding party or in a vital position where going MIA for a while is not really the best option. If you've never found yourself in that circumstance, trust me, it's not fun. I wasn't sure what I'd be able to come up with in such a short time frame, and having to work with a specific fabric and limited pattern options...well, it was going to be a bit of a challenge, but failure was not an option! I've had a bit of experience rigging my own clothes to be more accommodating for nursing so I wasn't completely in the dark, thankfully. Past experiments came in handy and saved time and error.
For this particular dress, I cut extra front facing pieces, trimmed them down to just the armholes, added more interfacing, and sewed them as if they were the front of the dress. I then faced and sewed the actual front of the dress as though it were lined, and attached it at the side seams so that it hung free from the back. The extra facing pieces hold the back of the dress in place; keeping it from falling down while the baby is nursing. The front is held up by large hook and eye fasteners; the best that I could find with such little time. I think that there is probably a better option out there, but sometimes you have to make do.
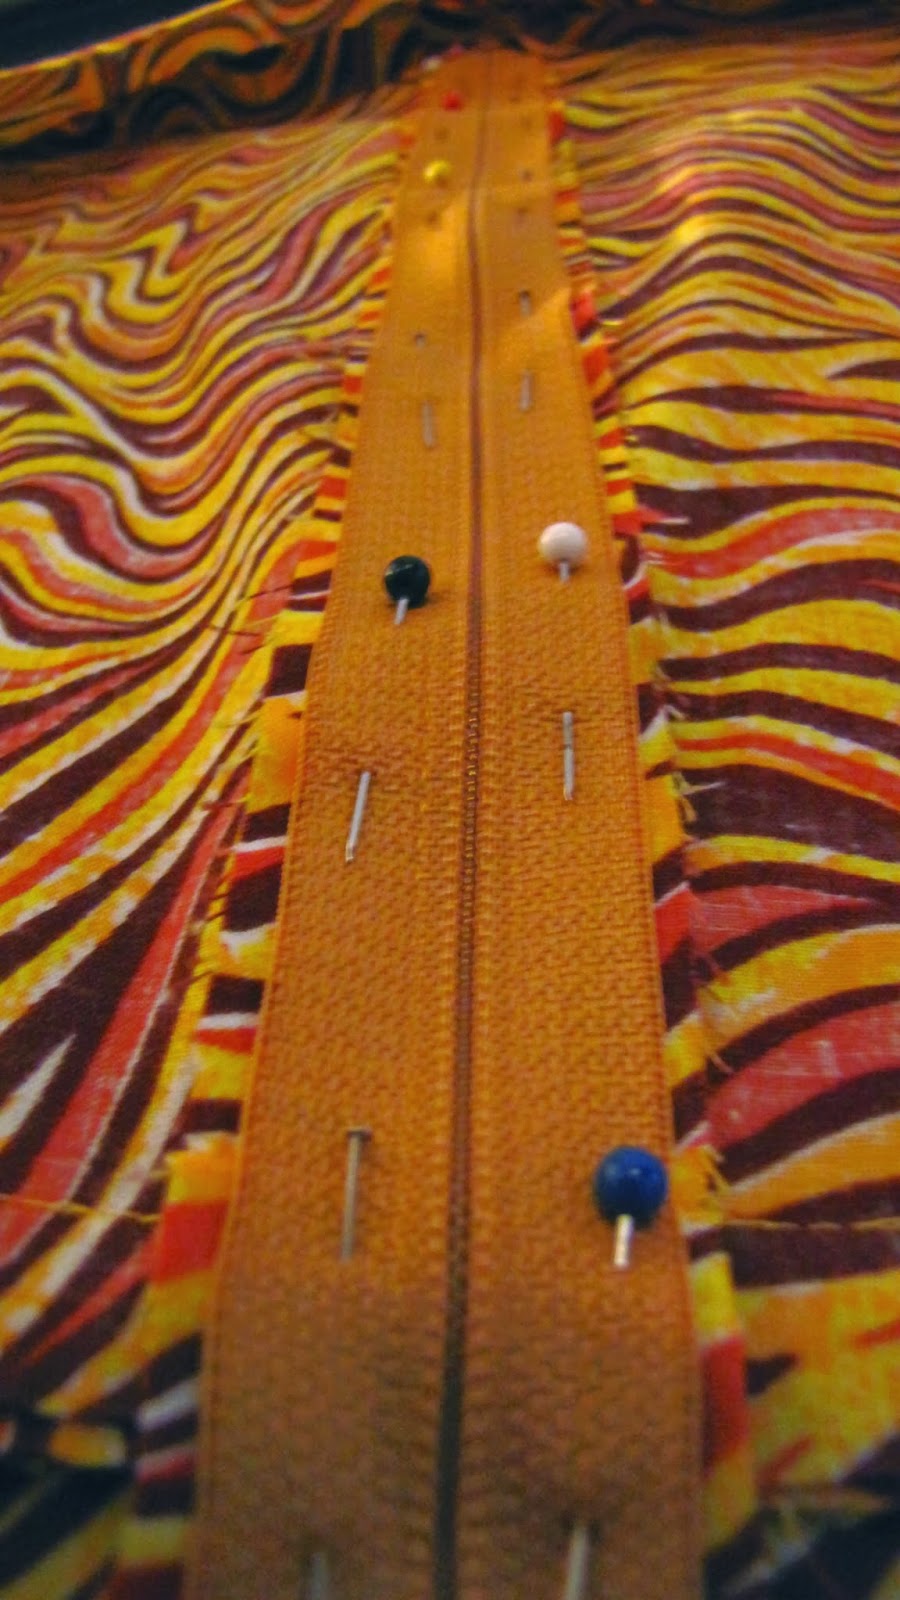
As I said, the kids were skeptical at the very beginning of the project, and it was fun to see the amazement in their eyes as it came together. I think their favorite parts were the 'invisible' hem, the hand-stitched 'eye' closure, and the zipper.
 |
| Invisible hem |
 |
| Invisible hem from the wrong side |
|
|
 |
| Hand-stitched 'eye' |
 |
| Zipper |
When it was all finished and ready to be picked up, their response?
"Wow, Mom! It IS a dress! That is so cool!"
 |
| My beautiful friend |


